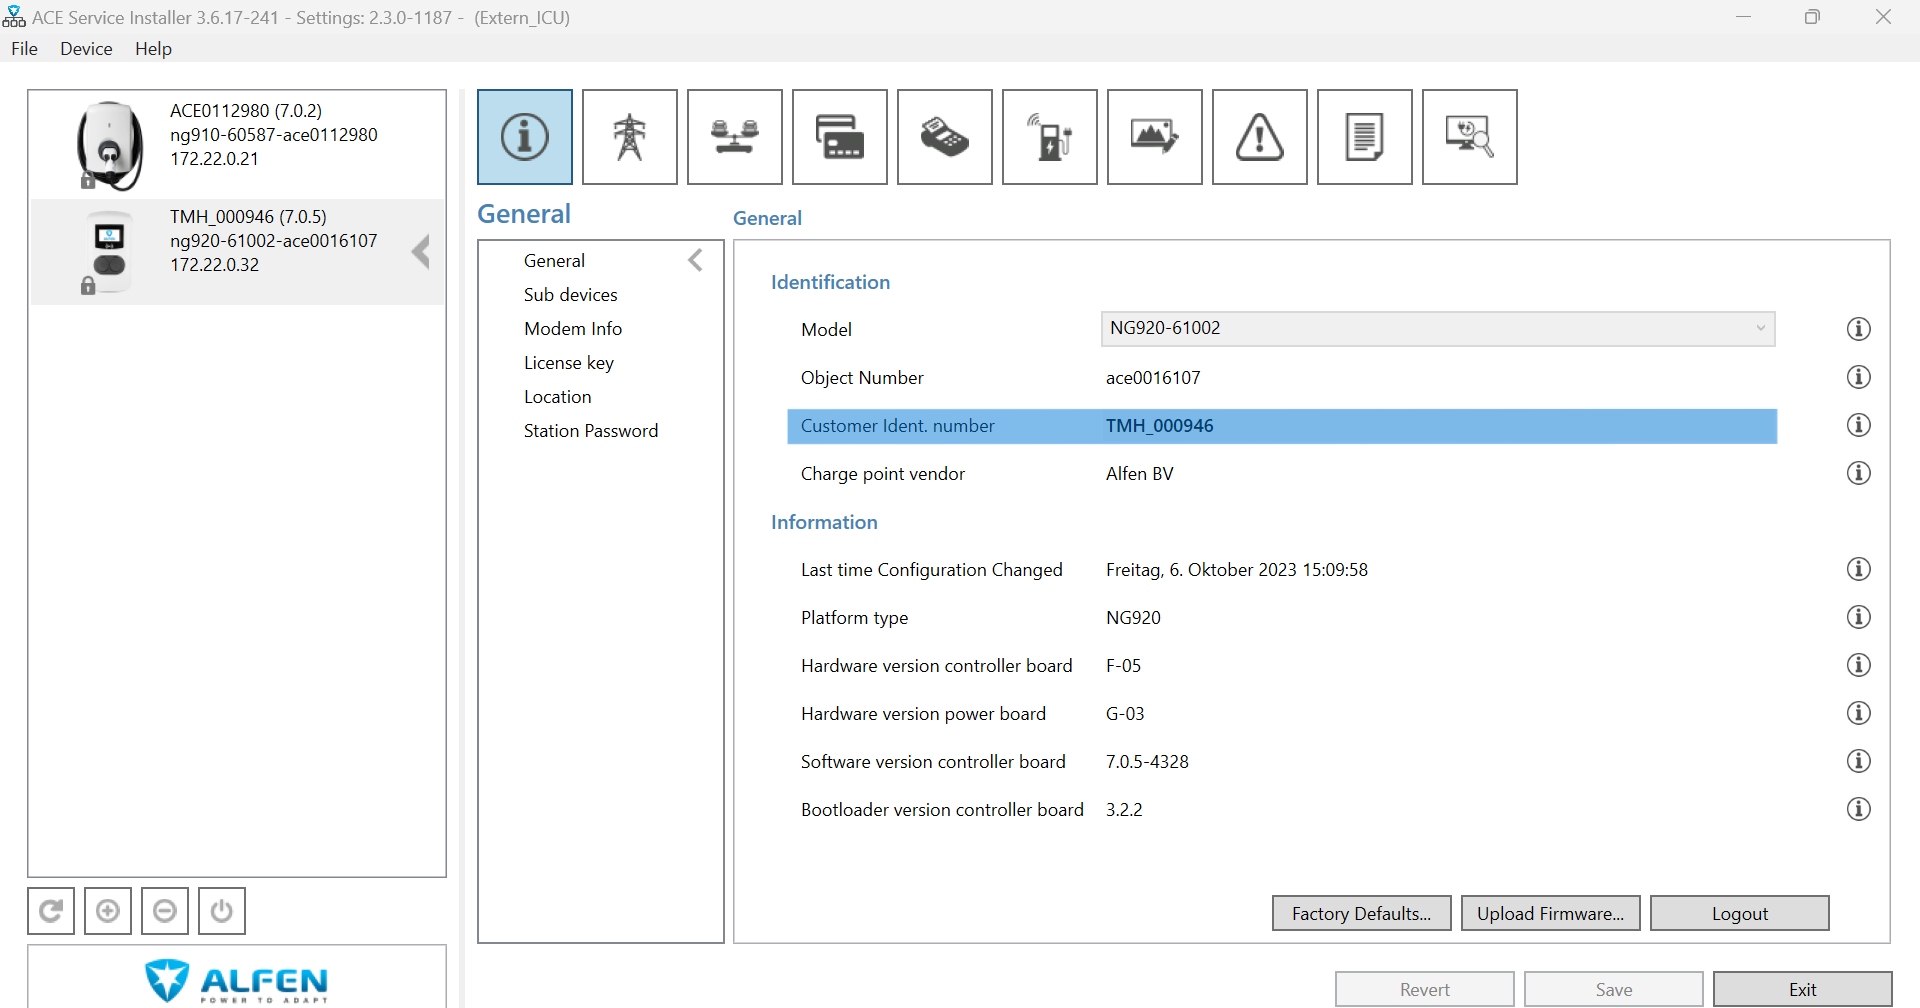
Alfen | Eve Double- Configuration for ChargePilot
Before starting the configuration, please check the charger firmware version complies with the latest compatible firmware version.
Connection to the charger | |
Local connectionConnect to the ACE Service Installer AppThe ACE Service Installer uses broadcast messages to find the stations IP, thus if the laptop has an intranet connection to the charger, it will appear in the list of available chargers with their IPs. Please ensure your laptop is in the same subnet as the target charger by one of the connection ways:
Download page for the ACE Service Installer App Login Data: | 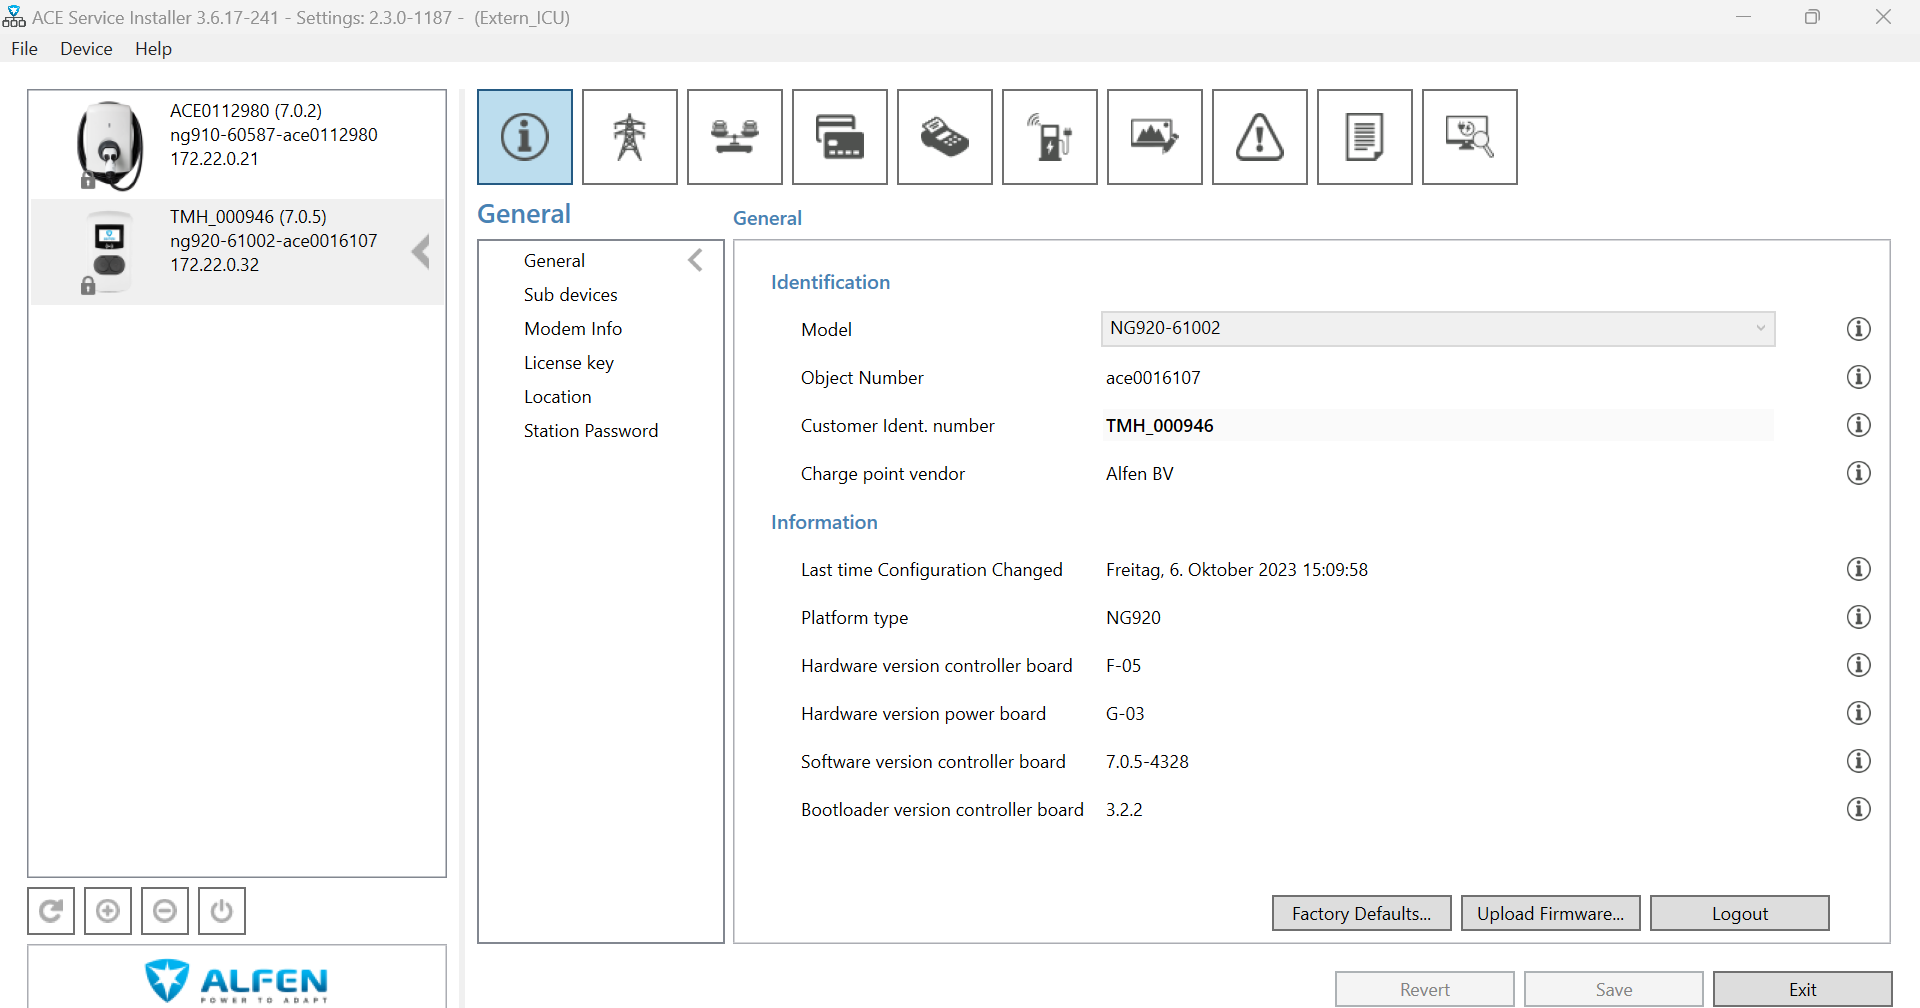 |
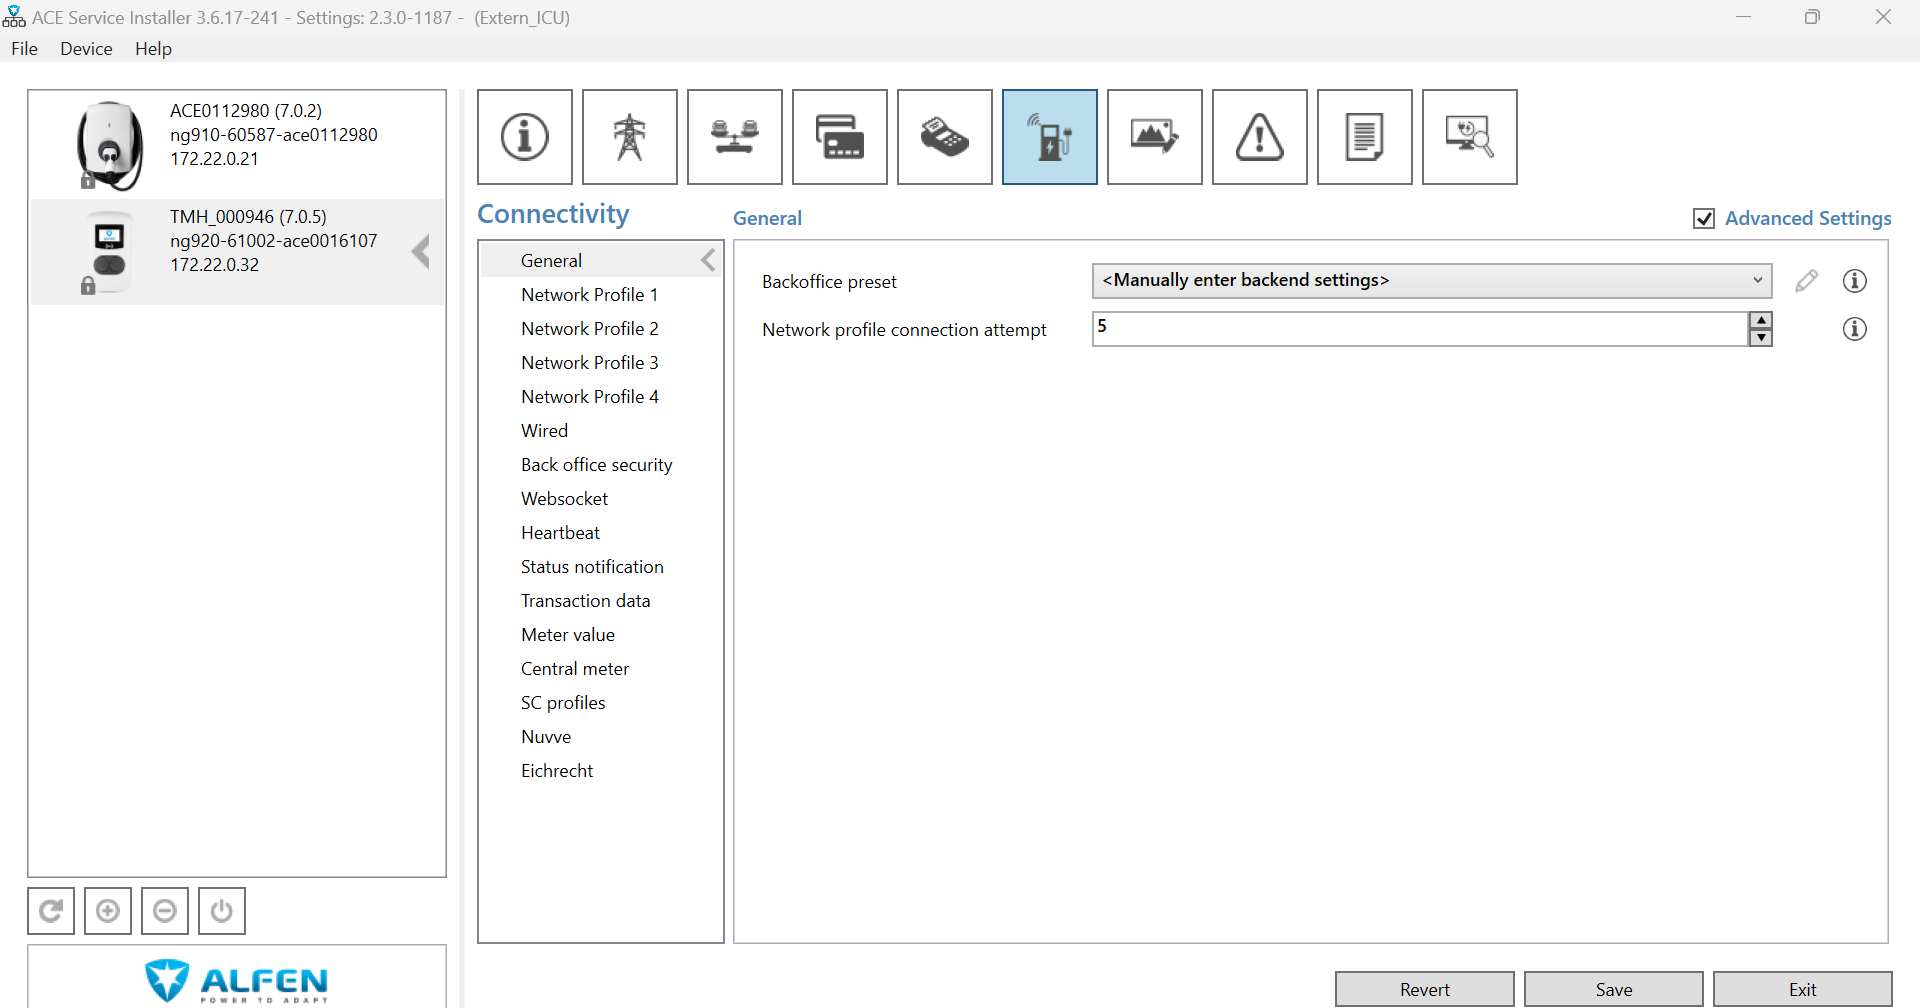
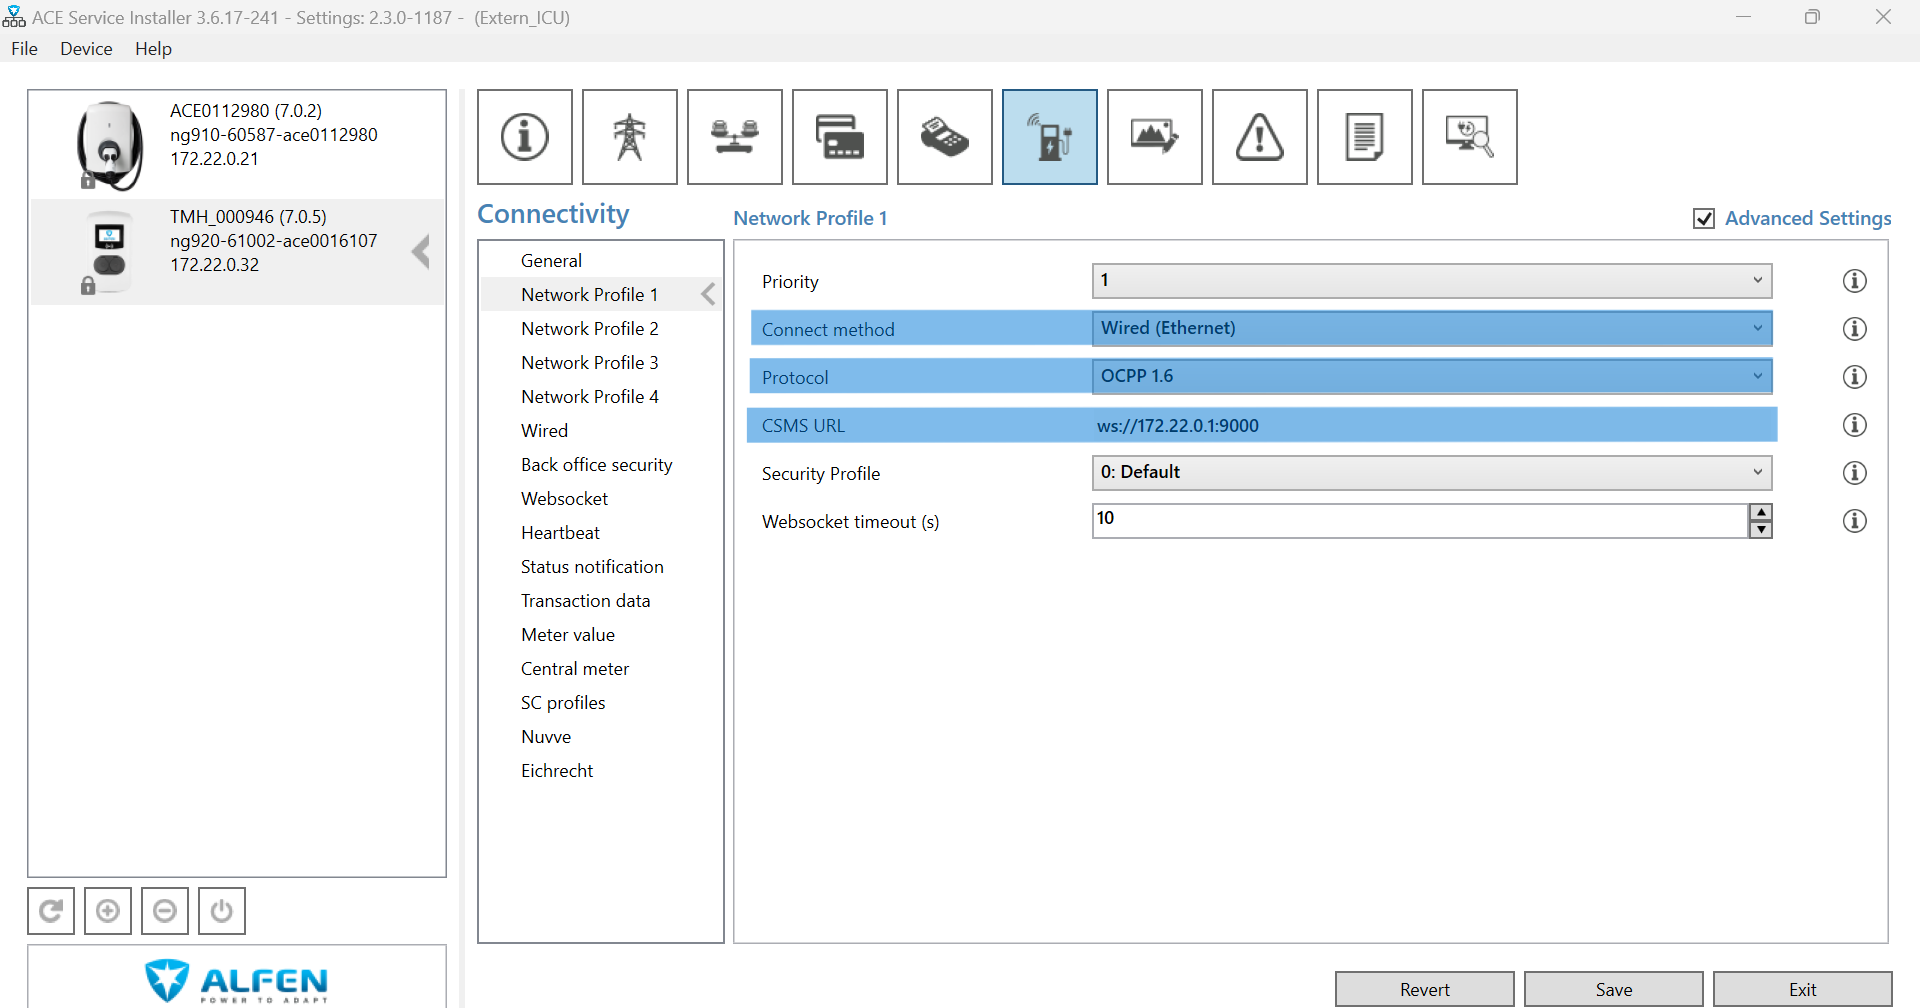
OCPP settings | |
Backend
ChargeBox ID
|    |
Other charger settings | |
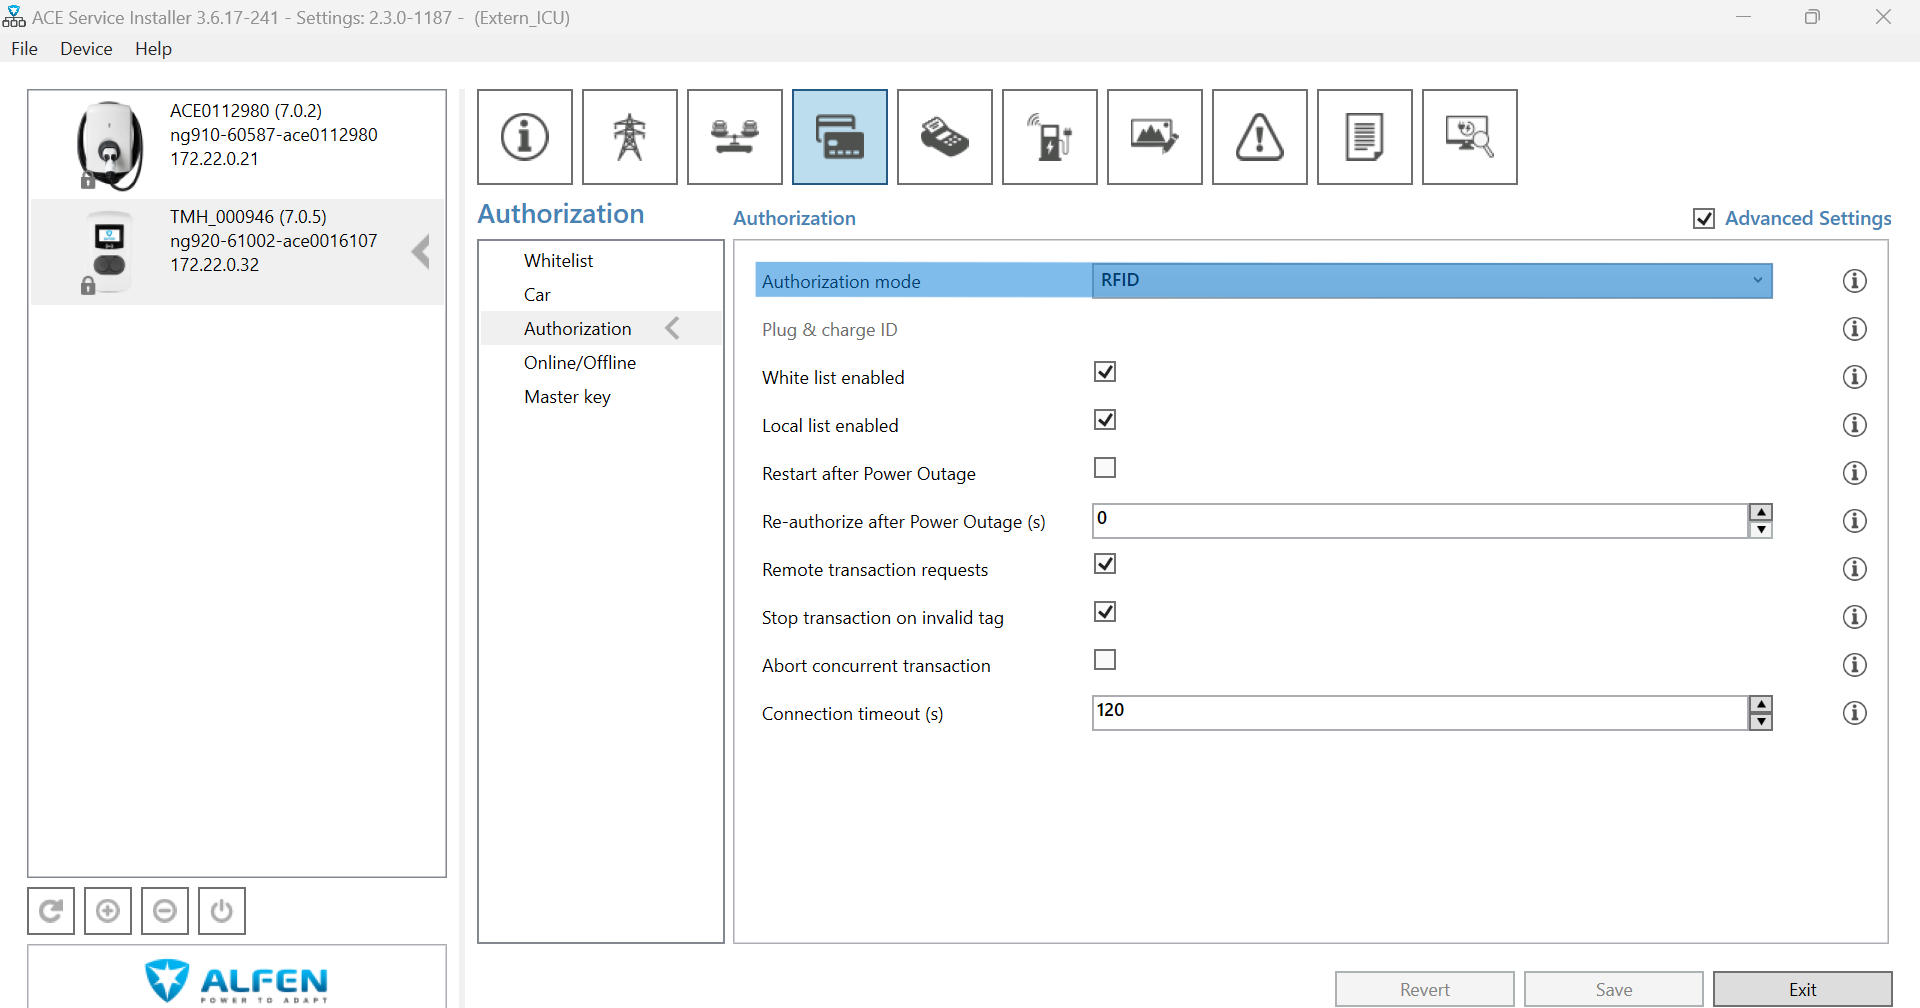
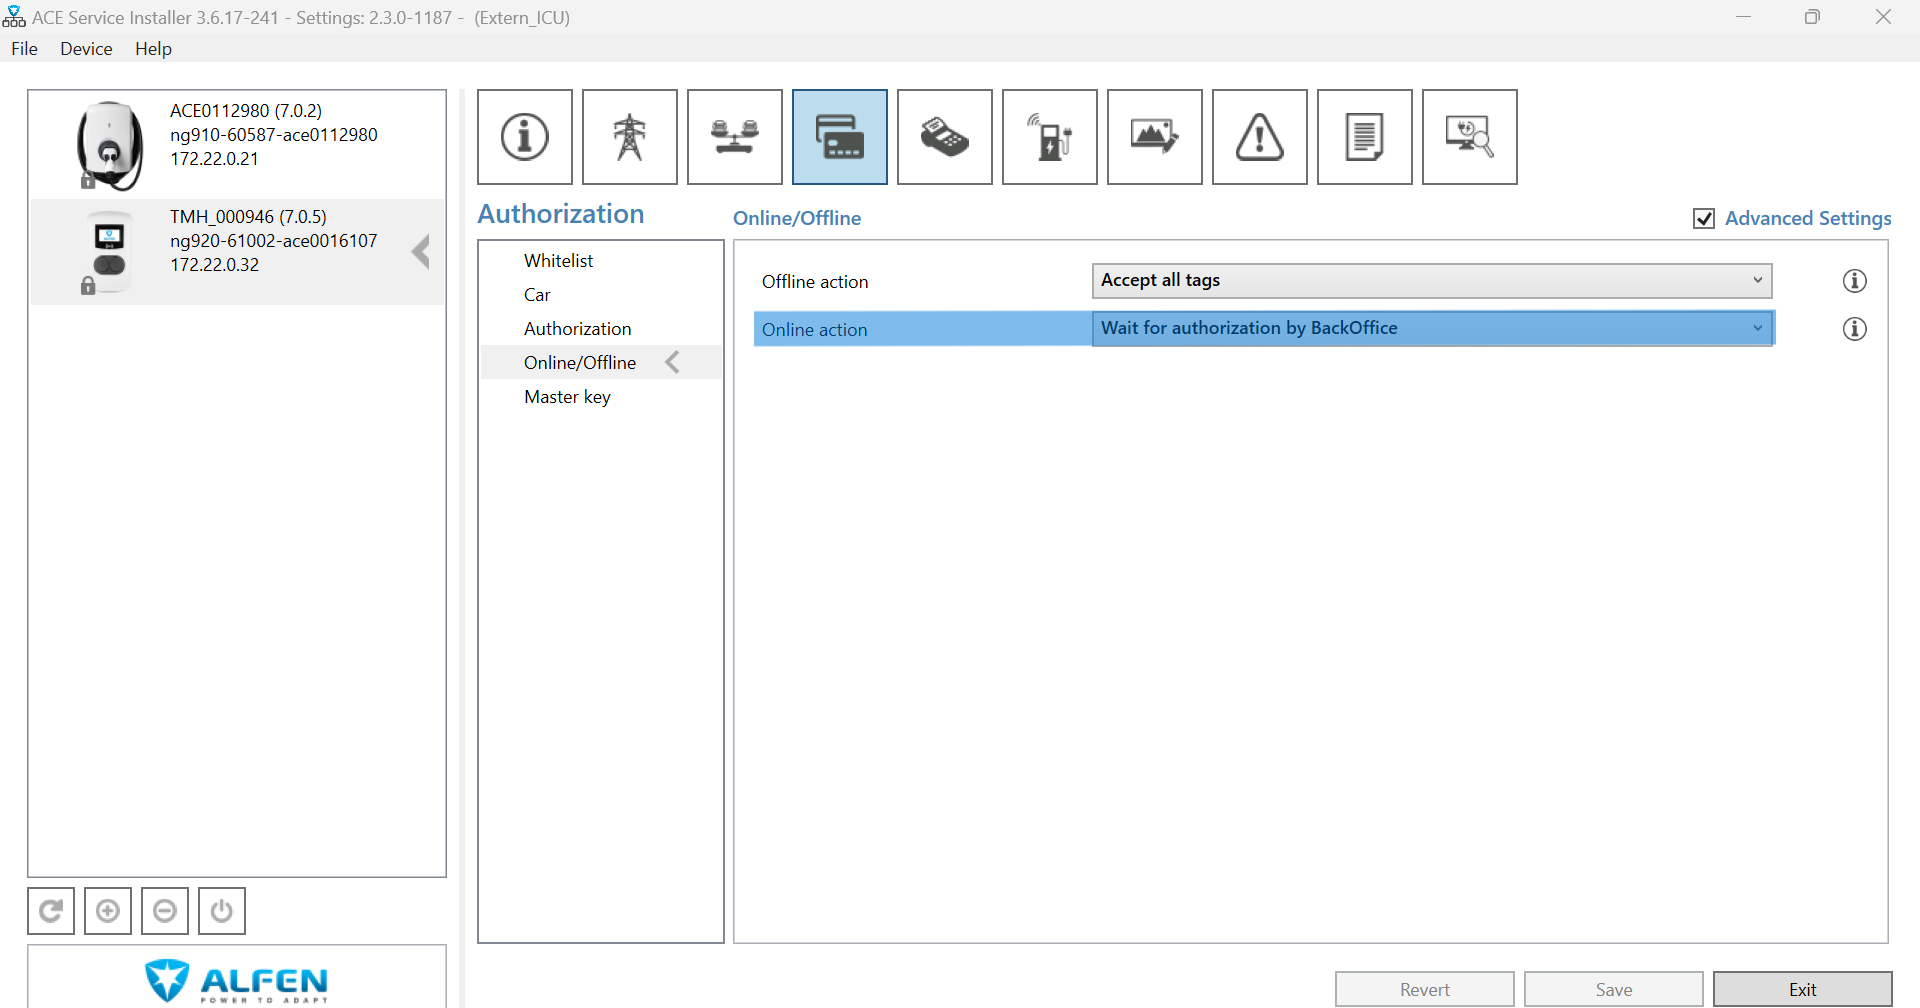
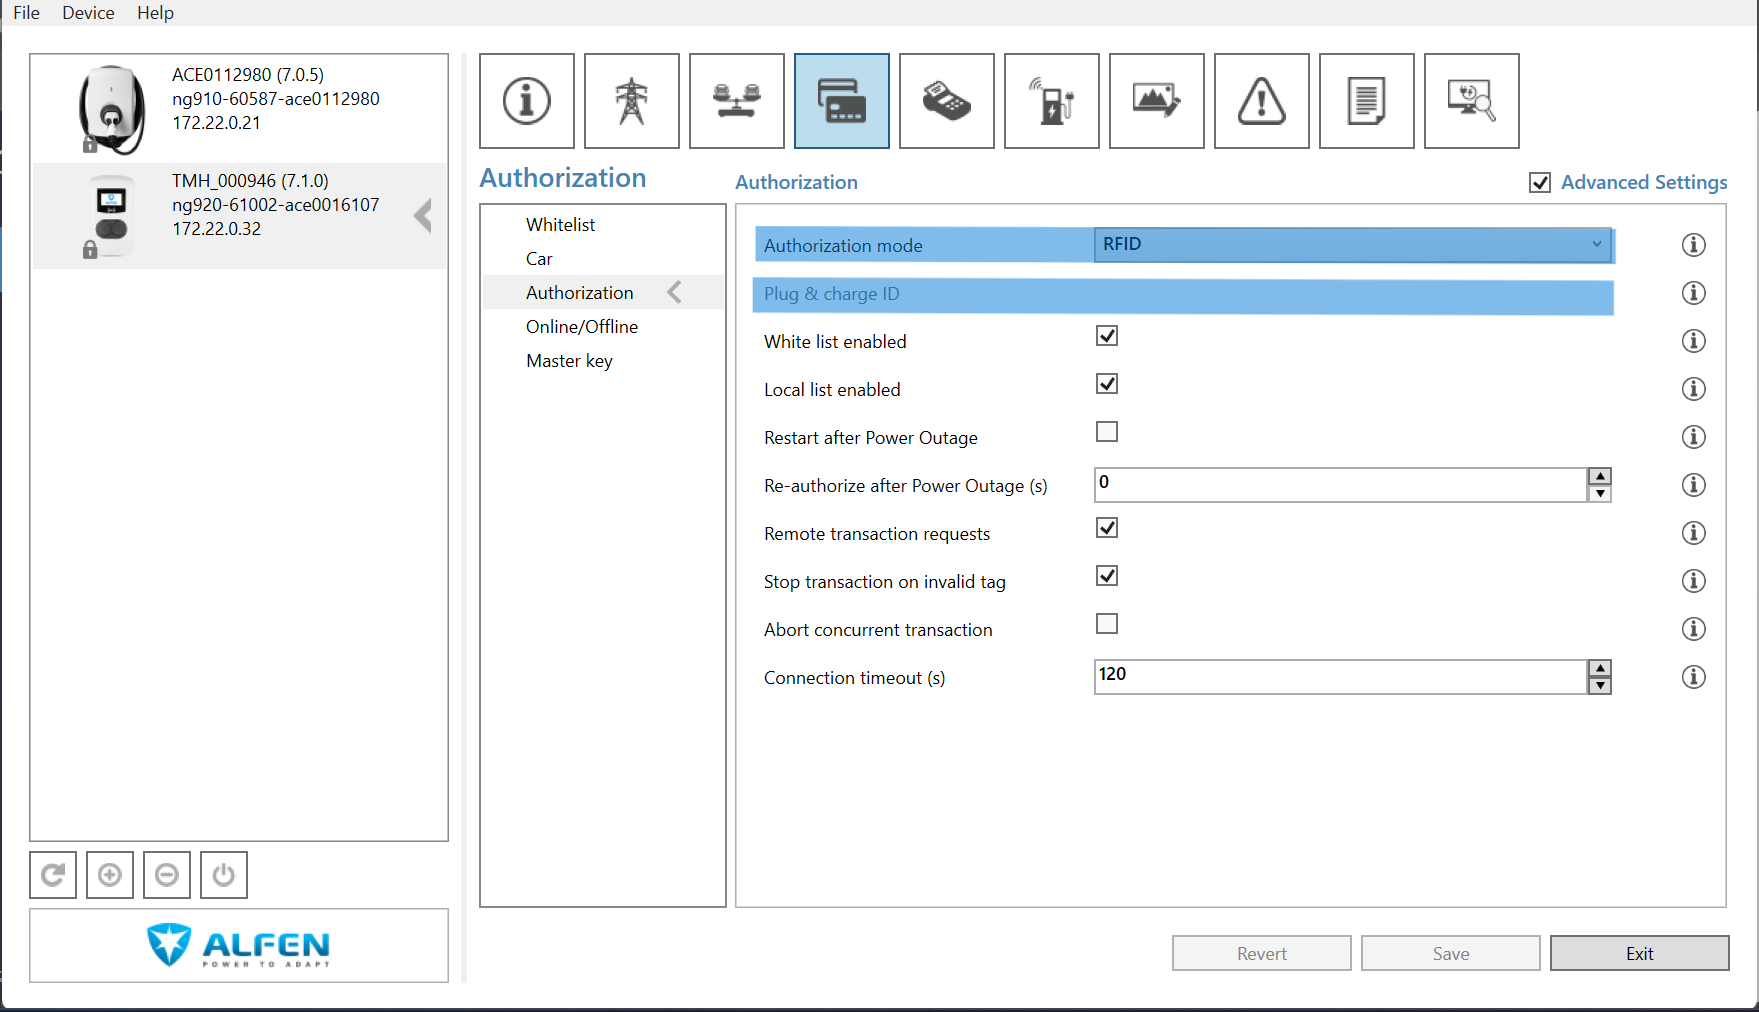
Authorization settings
|   |
Autocharge/Free charging settingsWhen this function is activated, charger starts transaction either with the identifier predefined in the charger, or with the EV MAC address (Plug & Charge).
|  |
Power Settings
| 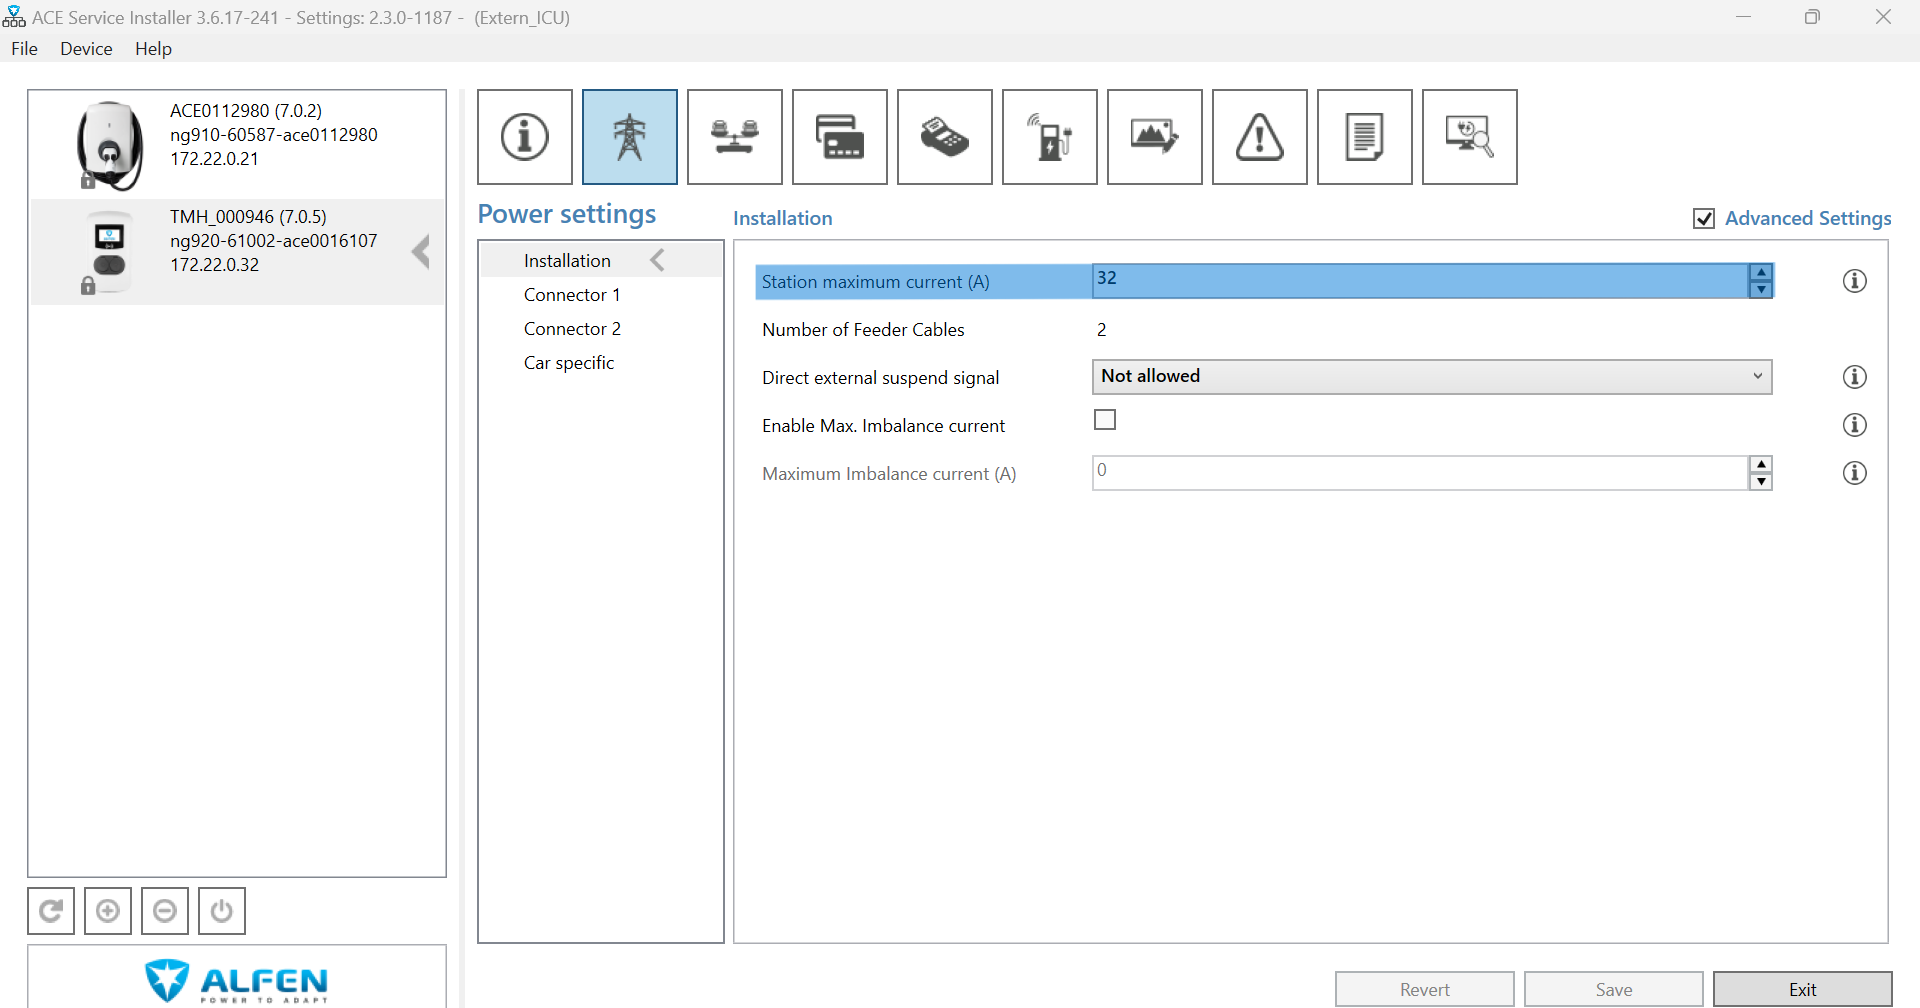 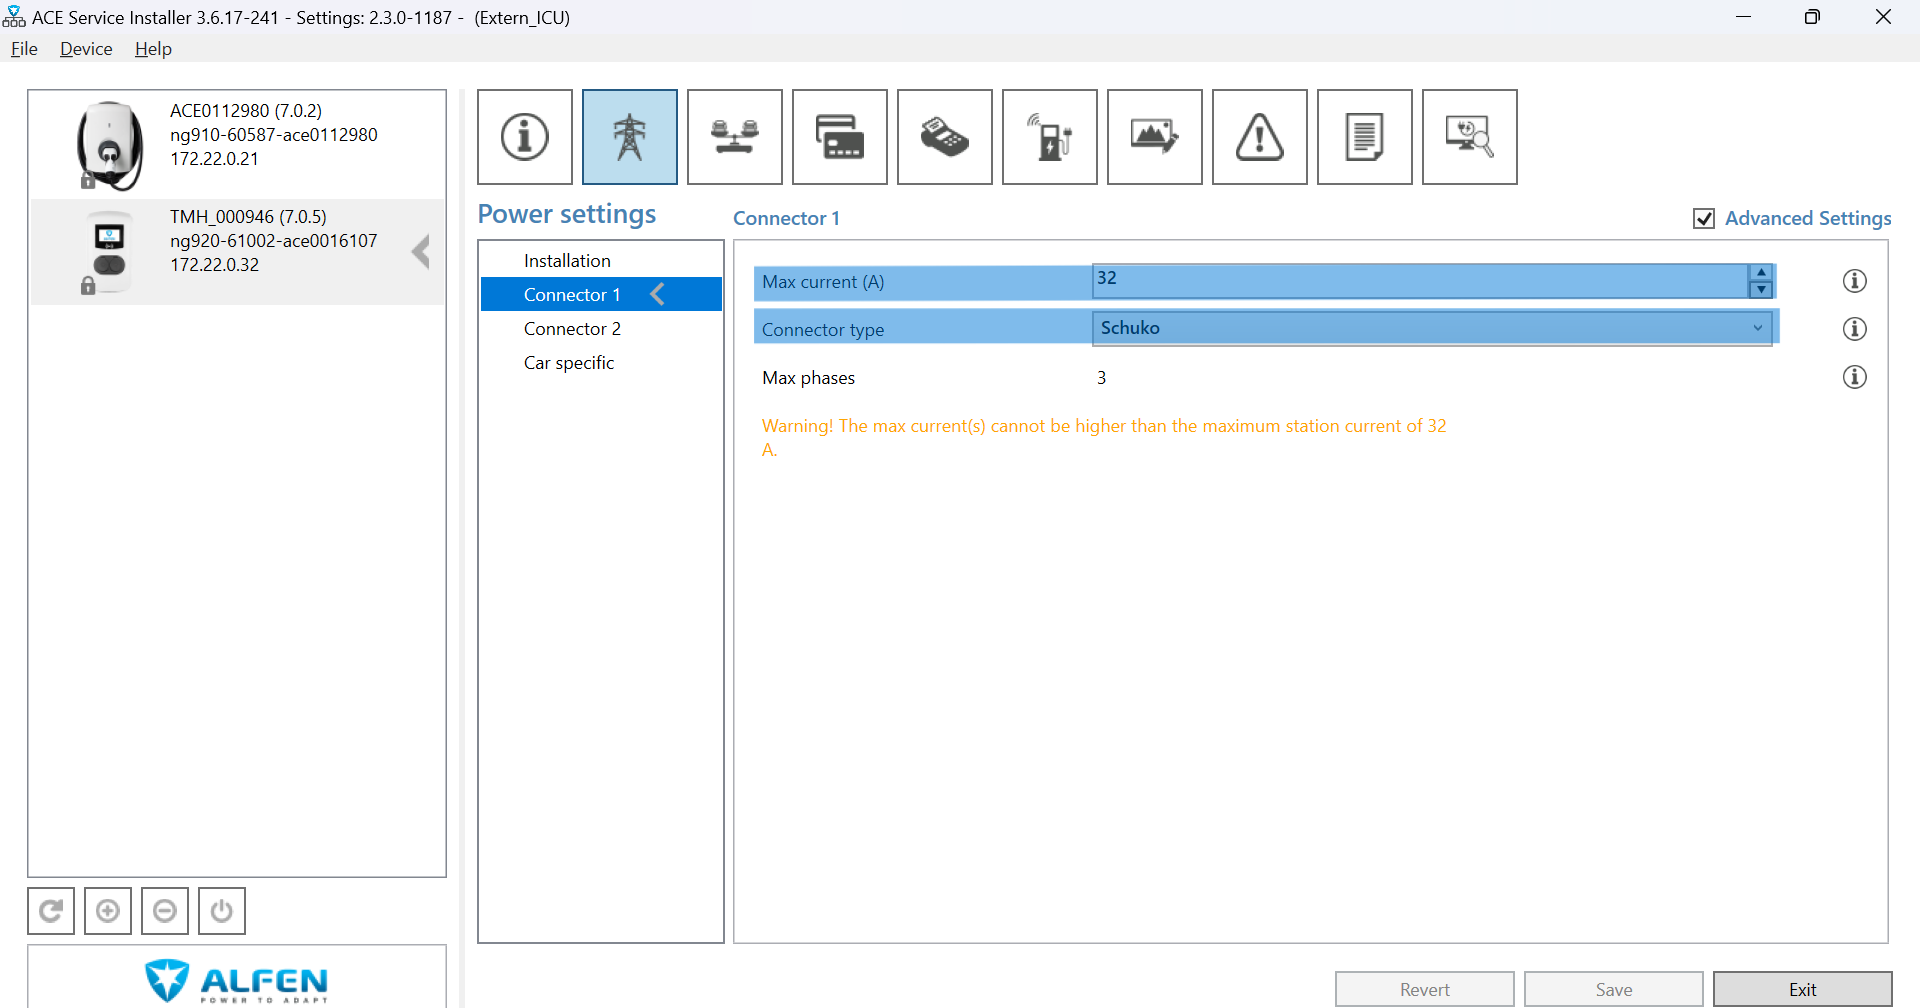 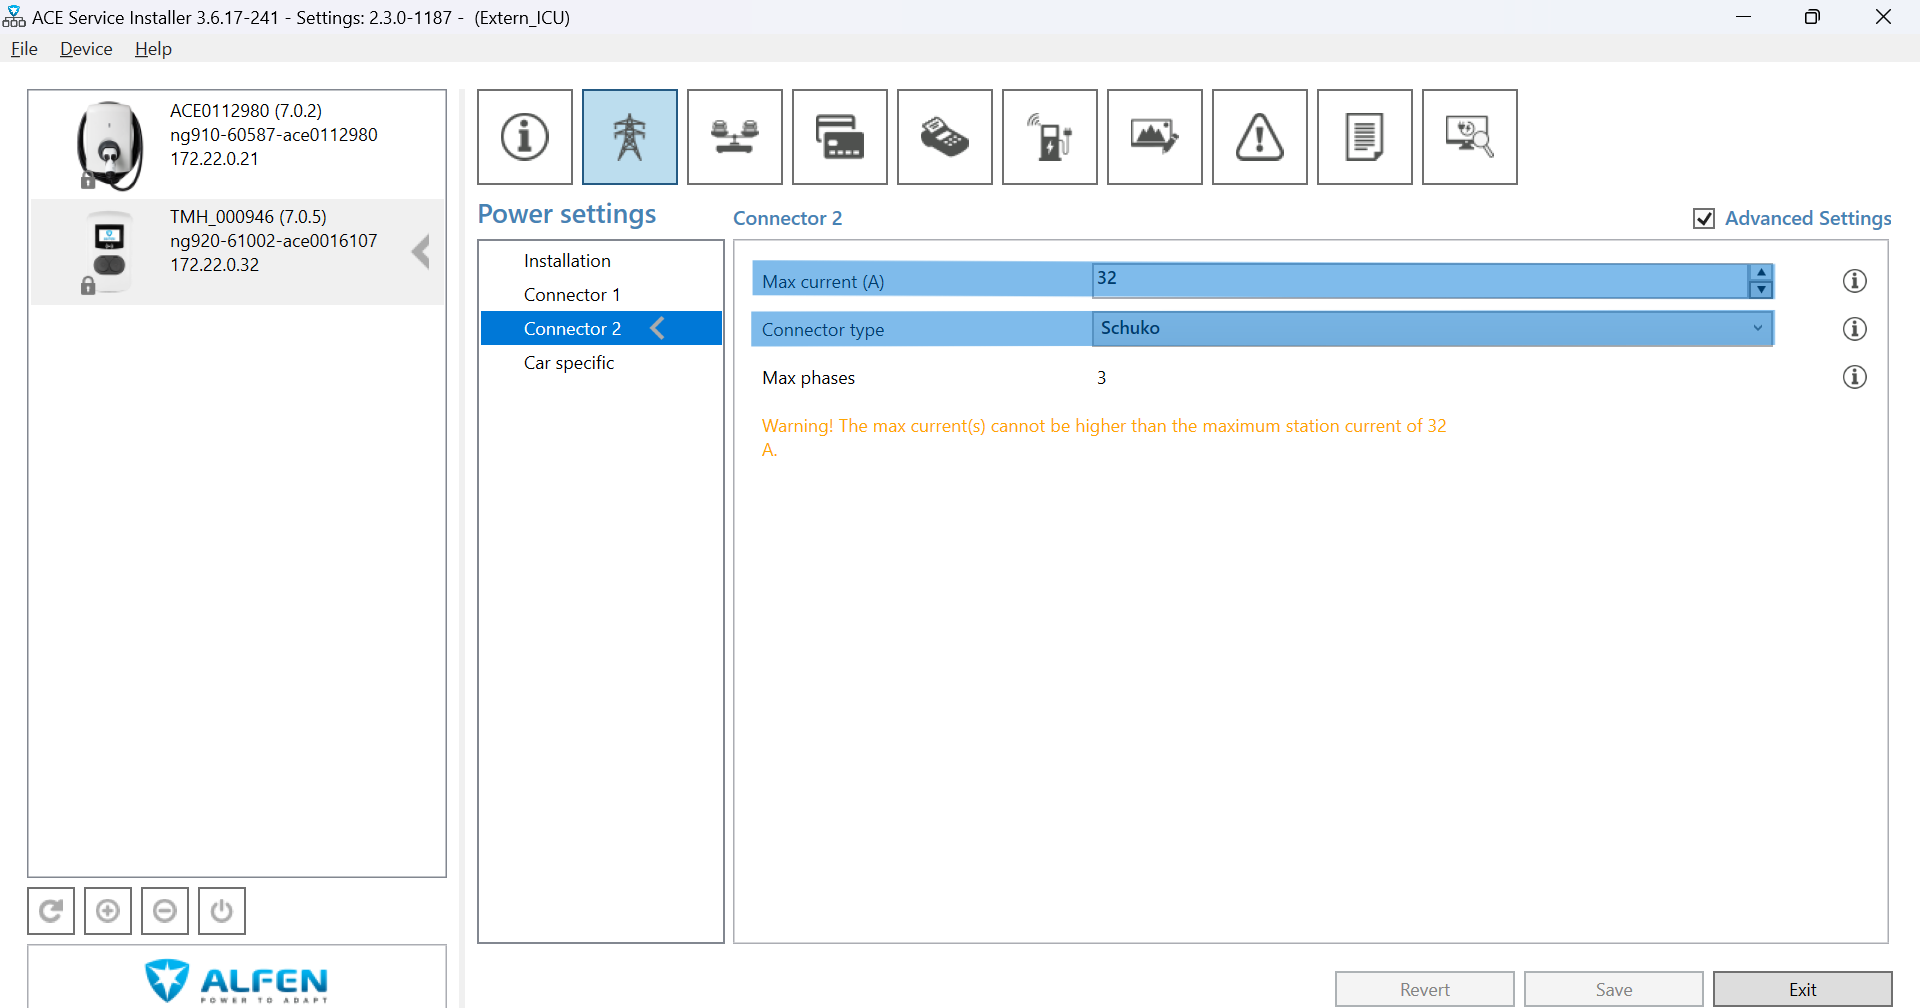 |
Load Balancing SettingsCheck if both connectors are powered by one current lead or two current leads. If the station is only powered by one current lead, ensure that the intern Static Load Balancing is activated! (See also Table 1 below) | 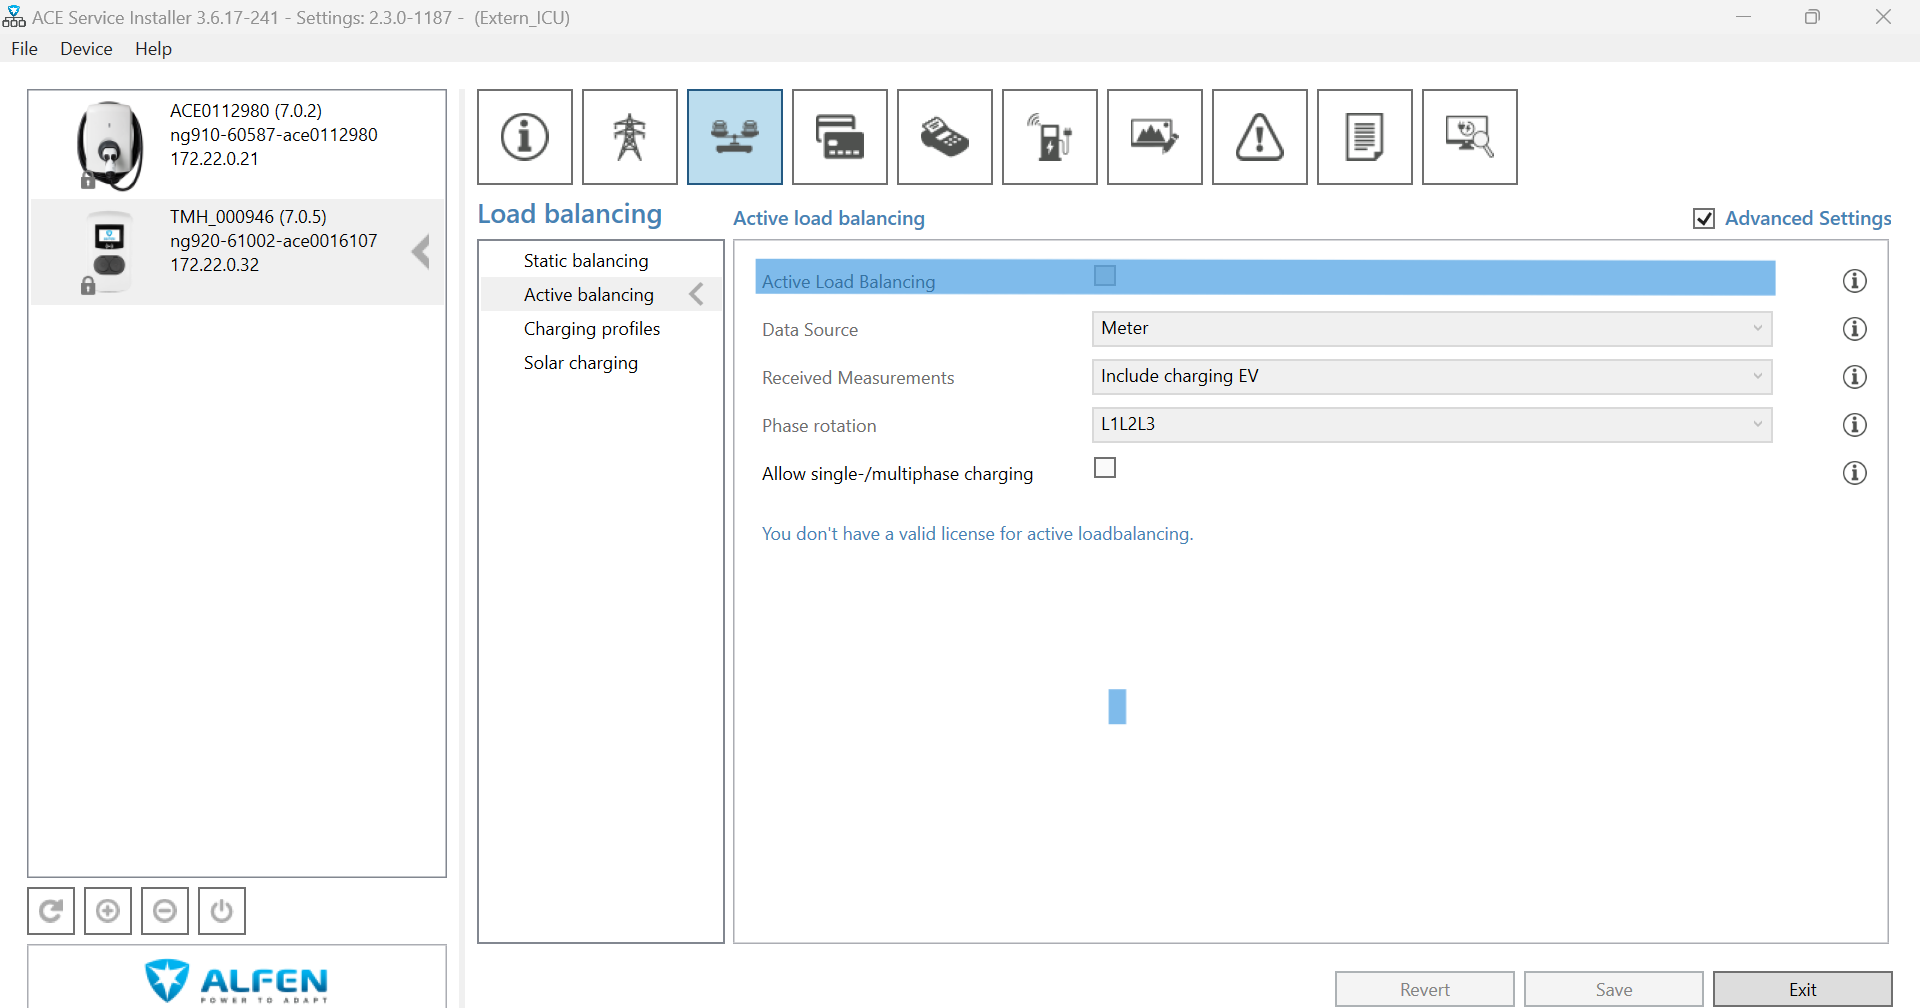 |
Table 1
Alfen Eve Double (two current leads) | Alfen Eve Double (one current lead) | |
|---|---|---|
Max. Power | 44 kW (2x 22 kW) | 22 kW (2x 11 kW) |
Station Max. Current | 64 A | 32 A |
Connector 1 Max. Current | 32 A | 32 A → intern load management |
Connector 2 Max. Current | 32 A | 32 A → intern load management |
Static Load Balancing | DEACTIVATED | ACTIVATED |