ABL | eMH3 - Configuration for ChargePilot
Before starting the configuration, please check the charger firmware version complies with the latest compatible firmware version.
Remote connection to the charger
|
Connection to the chargerThe ABL web portal can be accessed by entering the wallbox IP-address in the web browser. On the web page you can change the role to installer at “Change role” for Admin/Edit mode.
| 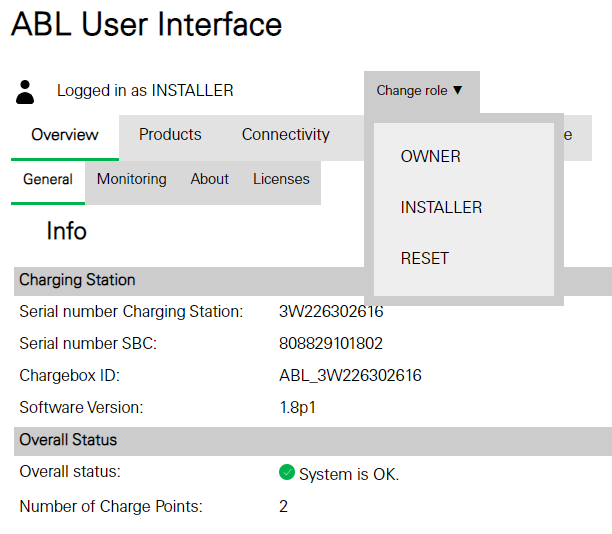 Role change |
Network settings
| 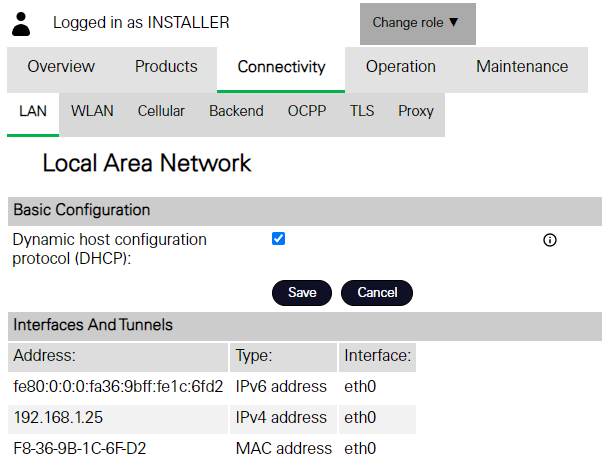 DHCP settings |
OCPP settings
|  |
Other charger settingsAuthorization settings
| 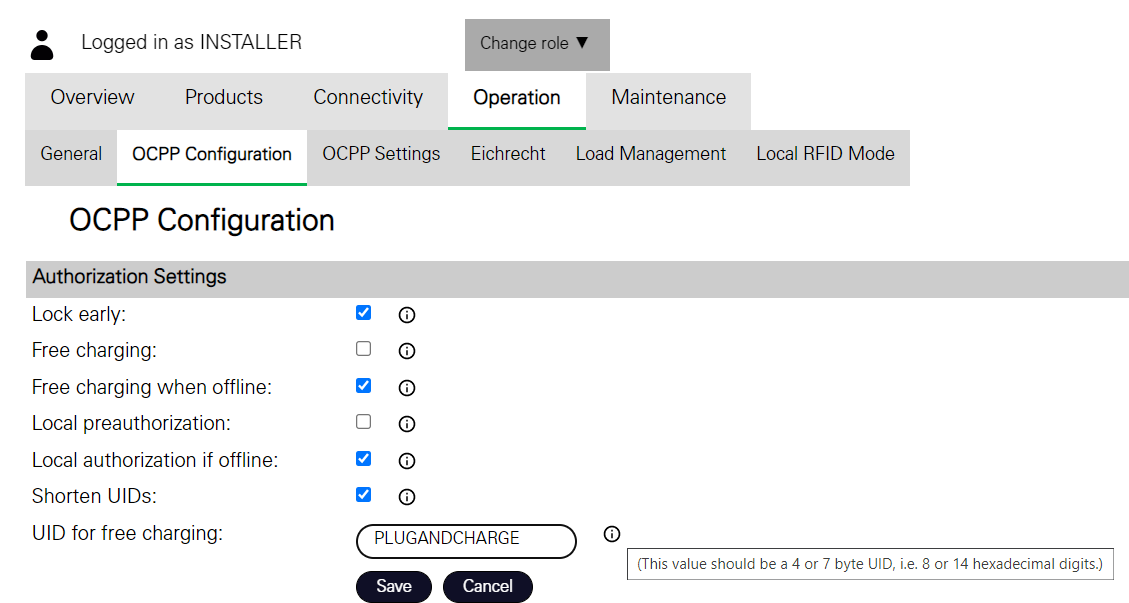 |
Fallback settingseMH3 charger doesn’t accept decimal TxDefaultProfile values, which will result in charger crash. Therefore, the settings of fallback value in the Admin UI has to be a multiple of the number of connectors. In the example, the fallback value is 12A, then each connector will get 6A. | 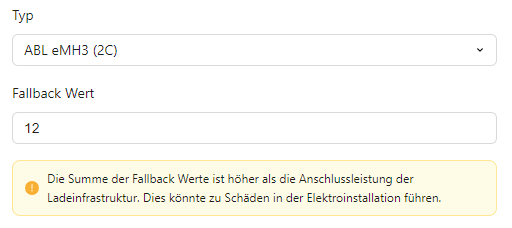 |
Offline behaviour settings
| 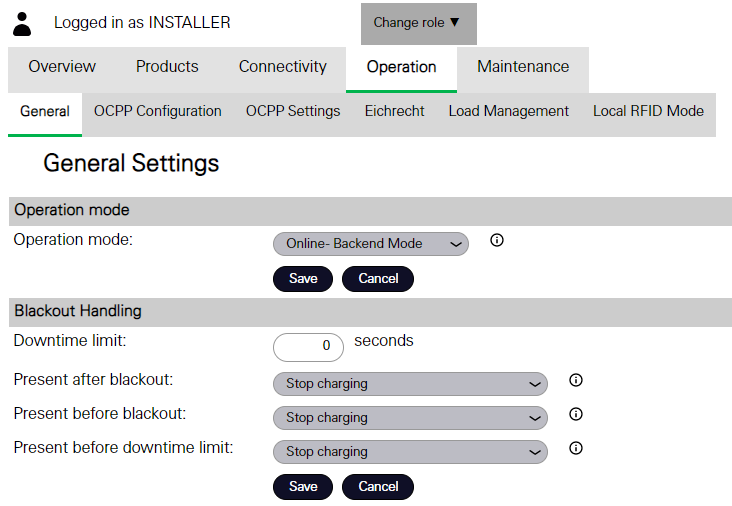 |
Load management
The maximal current setting can be omitted if the synchronization with the value of LIM-SL-1 in Charging-Installation is done | 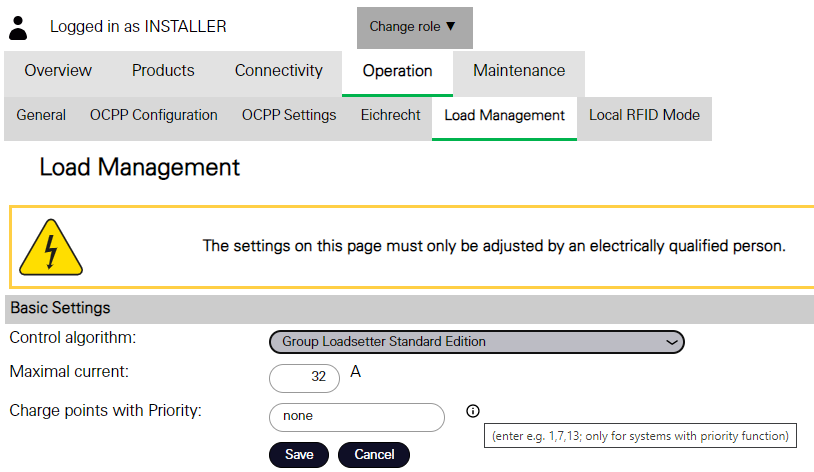 |